Corel Draw Tattoo Designs: A Comprehensive Guide for Artists and Enthusiasts
The world of tattoo art is constantly evolving, with artists continually seeking new tools and techniques to bring their visions to life. Corel Draw, a powerful vector graphics editor, has emerged as a popular choice for designing intricate and stunning Corel Draw tattoo designs. This comprehensive guide explores the advantages of using Corel Draw for tattoo design, provides step-by-step instructions, and showcases inspiring examples for both beginners and experienced artists.
Why Use Corel Draw for Tattoo Designs?
Corel Draw offers several key advantages over traditional drawing methods and other software options when creating Corel Draw tattoo designs:
- Vector Graphics: Unlike raster-based programs like Photoshop, Corel Draw utilizes vector graphics. This means that designs can be scaled to any size without losing quality or becoming pixelated. This is crucial for tattoo artists who need to adjust designs to fit different body parts.
- Precision and Control: Corel Draw provides precise control over every line and curve. This allows artists to create highly detailed and intricate Corel Draw tattoo designs with accuracy.
- Customization: The software offers a wide range of tools and features for customizing designs, including various brushes, fills, and effects. Artists can experiment with different styles and techniques to achieve their desired look.
- Ease of Use: While Corel Draw has a learning curve, its intuitive interface and helpful tutorials make it relatively easy to learn, especially for those already familiar with vector graphics software.
- Compatibility: Corel Draw is compatible with various file formats, making it easy to share designs with clients, other artists, and tattoo studios.
Getting Started with Corel Draw for Tattoo Designs
Before diving into designing your first Corel Draw tattoo designs, it’s essential to familiarize yourself with the software’s interface and basic tools. Here’s a step-by-step guide to get you started:
Step 1: Setting Up Your Workspace
Open Corel Draw and create a new document. Choose a suitable document size based on the intended size of your tattoo design. It’s a good practice to set the units to inches or centimeters for accurate measurements. Customize your workspace by arranging the toolbars and panels to your preference. Consider creating custom palettes for frequently used colors.
Step 2: Understanding the Basic Tools
Familiarize yourself with the following essential tools:
- Pick Tool: Used for selecting, moving, and resizing objects.
- Shape Tool: Used for editing the shape of objects and curves.
- Freehand Tool: Used for drawing freehand lines and curves.
- Bezier Tool: Used for creating precise curves and shapes by adding nodes.
- Rectangle Tool: Used for drawing rectangles and squares.
- Ellipse Tool: Used for drawing ellipses and circles.
- Text Tool: Used for adding text to your design.
- Fill Tool: Used for filling objects with color or patterns.
- Outline Tool: Used for adjusting the thickness and color of object outlines.
Step 3: Importing Reference Images
Importing reference images can be helpful, especially when creating realistic or complex Corel Draw tattoo designs. Go to File > Import and select your desired image. Place the image on your canvas and lock it to prevent accidental movement.
Step 4: Creating the Outline
Use the Bezier tool or Freehand tool to trace the outline of your reference image or create your own original design. Pay close attention to detail and ensure that the lines are smooth and clean. Experiment with different line weights to create visual interest. A well-defined outline is crucial for a successful Corel Draw tattoo design.
Step 5: Adding Details and Shading
Once you have the basic outline, you can start adding details and shading. Use the Shape tool to refine the lines and curves. Experiment with different fill colors and gradients to create depth and dimension. Consider using stippling or hatching techniques for realistic shading effects. Remember to keep the design clean and avoid overcrowding it with too many details.
Step 6: Adding Text (Optional)
If you want to add text to your Corel Draw tattoo designs, use the Text tool. Choose a font that complements the overall design. Adjust the size, spacing, and alignment of the text to achieve the desired effect. Consider using text effects like outlines or shadows to make the text stand out.
Step 7: Reviewing and Refining
Take a step back and review your design. Look for any areas that need improvement. Refine the lines, colors, and shading until you are satisfied with the overall result. It’s helpful to get feedback from other artists or clients before finalizing the design.
Step 8: Saving and Exporting
Save your design in Corel Draw’s native .cdr format. This will allow you to easily edit the design later. You can also export the design in other formats, such as .svg (Scalable Vector Graphics) or .pdf (Portable Document Format), for sharing or printing. Ensure the exported file is high resolution for optimal results.
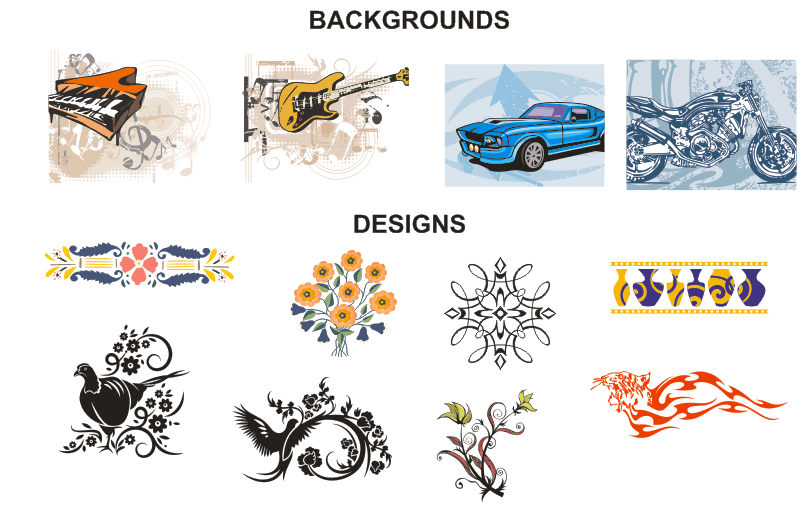
Inspiration and Examples of Corel Draw Tattoo Designs
The possibilities are endless when it comes to Corel Draw tattoo designs. Here are a few inspiring examples:
- Geometric Designs: Create intricate geometric patterns using the Rectangle, Ellipse, and Polygon tools.
- Floral Designs: Design beautiful floral arrangements with detailed petals and leaves.
- Tribal Designs: Recreate traditional tribal patterns or create your own unique interpretations.
- Animal Designs: Draw realistic or stylized animals with precise lines and shading.
- Lettering and Script: Create elegant lettering and script designs for names, quotes, or other meaningful words.
Tips and Tricks for Creating Stunning Corel Draw Tattoo Designs
Here are some additional tips and tricks to help you create amazing Corel Draw tattoo designs:
- Use Layers: Organize your design by using layers. This will make it easier to edit and manage different elements.
- Experiment with Brushes: Corel Draw offers a variety of brushes that can be used to create different effects. Experiment with different brushes to find the ones that work best for your style.
- Use Color Palettes: Create custom color palettes to ensure consistency in your designs.
- Learn Keyboard Shortcuts: Learning keyboard shortcuts can significantly speed up your workflow.
- Practice Regularly: The more you practice, the better you will become at using Corel Draw for tattoo design.
The Future of Corel Draw in Tattoo Art
As technology continues to advance, Corel Draw is likely to play an even greater role in the world of tattoo art. With its powerful features and versatility, Corel Draw empowers artists to create intricate, scalable, and visually stunning Corel Draw tattoo designs. The software’s ability to be used on tablets and other mobile devices also expands its accessibility for artists on the go.
The integration of AI-powered tools within Corel Draw also holds promise for the future of tattoo design. AI could assist artists in generating design ideas, automating repetitive tasks, and even predicting how a tattoo will look on different skin tones.
Conclusion
Corel Draw is a valuable tool for tattoo artists looking to create high-quality, scalable, and customizable Corel Draw tattoo designs. By mastering the software’s basic tools and techniques, artists can unlock their creative potential and bring their visions to life. Whether you’re a beginner or an experienced artist, Corel Draw offers a powerful platform for designing stunning tattoos that will last a lifetime. Embrace the digital age and explore the endless possibilities of Corel Draw tattoo designs. Remember to always prioritize safety and sanitation when applying any tattoo design.
[See also: Tattoo Design Software Comparison]
[See also: Beginner’s Guide to Vector Graphics]
[See also: Advanced Shading Techniques in Corel Draw]
