Unveiling the Magic of Starry Landscape Stacker: A Comprehensive Guide
For astrophotography enthusiasts and landscape photographers alike, capturing the breathtaking beauty of the night sky can be a challenging yet rewarding endeavor. One tool that has emerged as a game-changer in this field is the Starry Landscape Stacker. This software, designed specifically for macOS, simplifies the process of stacking multiple images to reduce noise and enhance the details of both the stars and the foreground in your nightscapes. Whether you’re a seasoned pro or just starting out, understanding how to effectively use a Starry Landscape Stacker can dramatically improve the quality of your astrophotography.
What is Starry Landscape Stacker?
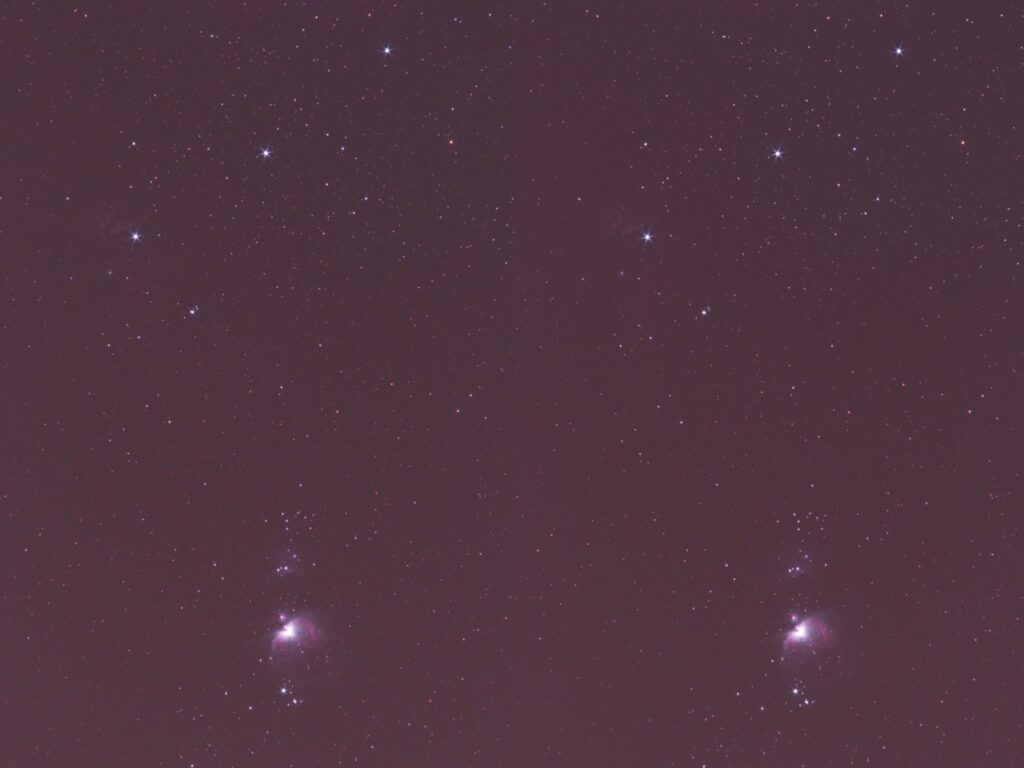
Starry Landscape Stacker is a specialized image stacking software tailored for astrophotography, particularly for capturing landscapes with prominent starry skies. Unlike general-purpose image stacking software, it’s designed to handle the unique challenges of nightscape photography, such as reducing noise while preserving the sharpness of both the stars and the terrestrial foreground. The software achieves this by aligning and stacking multiple exposures, effectively averaging out the noise and revealing fainter details in the stars and the landscape.
The core function of Starry Landscape Stacker revolves around its ability to isolate and align the stars in each image, compensating for the Earth’s rotation. This allows for longer total exposure times without star trailing, a common problem in single-exposure astrophotography. Furthermore, it offers advanced blending modes to seamlessly integrate the stacked star layer with the foreground, resulting in a balanced and visually appealing final image.
Why Use a Starry Landscape Stacker?
There are several compelling reasons to incorporate Starry Landscape Stacker into your astrophotography workflow:
- Noise Reduction: Long exposures are essential for capturing faint stars, but they also introduce noise. Stacking multiple shorter exposures significantly reduces noise, resulting in cleaner images.
- Enhanced Detail: By averaging out the noise, stacking reveals finer details in both the stars and the landscape.
- Wider Dynamic Range: Stacking allows you to capture a wider range of brightness levels, preventing blown-out highlights and preserving shadow detail.
- Reduced Star Trails: The software automatically aligns the stars, allowing for longer total exposure times without noticeable star trails, even without a star tracker.
- Improved Foreground Clarity: Starry Landscape Stacker allows you to blend the stacked star layer with a separate foreground exposure, ensuring sharpness and clarity in the landscape.
Setting Up for Success: Essential Equipment and Techniques
Before diving into the software, let’s cover the essential equipment and techniques for capturing the raw images that Starry Landscape Stacker will process:
- Camera: A DSLR or mirrorless camera with good low-light performance is crucial. Look for models with high ISO capabilities and low noise levels.
- Lens: A wide-angle lens (e.g., 14mm to 24mm) with a fast aperture (f/2.8 or wider) is ideal for capturing expansive nightscapes.
- Tripod: A sturdy tripod is essential for keeping your camera stable during long exposures.
- Intervalometer: An intervalometer allows you to automate the process of taking a series of exposures without manually pressing the shutter button, minimizing camera shake.
- Remote Shutter Release: Similar to an intervalometer, a remote shutter release helps prevent camera shake.
Shooting Techniques:
- Shoot in RAW: Always shoot in RAW format to preserve the maximum amount of image data for post-processing.
- Use Manual Mode: Take full control of your camera settings by shooting in manual mode.
- Set the Correct ISO: Choose an ISO setting that balances brightness and noise. Start with ISO 1600 or 3200 and adjust as needed.
- Select the Right Aperture: Use a wide aperture (f/2.8 or wider) to capture as much light as possible.
- Determine the Optimal Shutter Speed: Use the “500 rule” (500 / focal length = maximum shutter speed) to avoid star trails. For example, with a 24mm lens, your maximum shutter speed would be around 20 seconds.
- Take Multiple Exposures: Capture a series of exposures (e.g., 10-30) of the same scene.
- Consider a Dark Frame: Taking a dark frame (with the lens cap on) can help remove hot pixels and sensor noise.
- Foreground Exposure: If the foreground is too dark, consider taking a separate, longer exposure specifically for the landscape.
Step-by-Step Guide to Using Starry Landscape Stacker
Now, let’s walk through the process of using Starry Landscape Stacker:
- Import Your Images: Open Starry Landscape Stacker and import your series of images. The software supports various RAW formats.
- Align the Stars: The software will automatically detect and align the stars in each image. You can manually adjust the alignment if needed.
- Stack the Images: Choose a stacking mode. The default mode, “Mean,” typically works well. Experiment with other modes like “Median” or “Maximum” to see which yields the best results.
- Adjust Blending Options: Use the blending options to seamlessly integrate the stacked star layer with the foreground. You can adjust the opacity and blending mode of each layer.
- Apply Noise Reduction: Starry Landscape Stacker has built-in noise reduction tools. Use them sparingly to avoid softening the image too much.
- Save Your Image: Save your final image in a high-quality format like TIFF or PNG.
Advanced Techniques and Tips
Once you’re comfortable with the basics, you can explore some advanced techniques to further enhance your astrophotography:
- Using Dark Frames: If you took a dark frame, you can subtract it from your stacked image to remove hot pixels and sensor noise.
- Blending Multiple Foreground Exposures: If you took multiple foreground exposures, you can blend them together to create a sharper and more detailed landscape.
- Using Masks: Create masks to selectively apply adjustments to different parts of the image. For example, you can use a mask to brighten the Milky Way without affecting the foreground.
- Post-Processing in Other Software: After stacking in Starry Landscape Stacker, you can further refine your image in post-processing software like Adobe Photoshop or Lightroom.
Troubleshooting Common Issues
Even with the best equipment and techniques, you may encounter some common issues when using Starry Landscape Stacker:
- Poor Star Alignment: This can happen if the stars are too faint or if there is too much cloud cover. Try increasing the contrast in your images or manually adjusting the alignment points.
- Excessive Noise: This can be caused by high ISO settings or long exposures. Try reducing the ISO or taking more exposures.
- Over-Processed Images: Avoid over-sharpening or over-reducing noise, as this can lead to unnatural-looking images.
- Foreground Blurriness: Ensure that your foreground exposure is sharp and properly aligned with the stacked star layer.
Alternatives to Starry Landscape Stacker
While Starry Landscape Stacker is a powerful tool, it’s not the only option available. Here are a few alternatives:
- Sequator: A free Windows-based software that offers similar functionality to Starry Landscape Stacker.
- DeepSkyStacker: Another free Windows-based software popular for deep-sky astrophotography, but also usable for landscape astrophotography.
- Adobe Photoshop: While not specifically designed for astrophotography, Photoshop can be used for image stacking and blending with the help of plugins or manual techniques.
The Future of Nightscape Photography with Starry Landscape Stackers
As technology advances, software like Starry Landscape Stacker will continue to play a crucial role in pushing the boundaries of nightscape photography. With its intuitive interface and powerful features, it empowers photographers of all skill levels to capture stunning images of the night sky. The ongoing development of AI-powered algorithms promises even more efficient and accurate image processing, further simplifying the workflow and enhancing the final results. The future of nightscape photography is bright, and Starry Landscape Stacker is at the forefront of this exciting evolution. [See also: Capturing the Milky Way: A Beginner’s Guide]
Conclusion
Starry Landscape Stacker is an invaluable tool for anyone serious about capturing breathtaking nightscapes. By understanding its capabilities and mastering the techniques outlined in this guide, you can unlock the full potential of your astrophotography and create stunning images that showcase the beauty of the night sky. So, grab your camera, find a dark location, and start exploring the magic of Starry Landscape Stacker.
